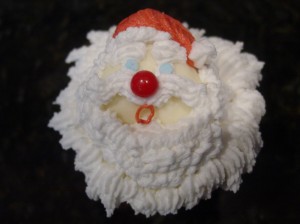
Yummy White Chocolate Santa Cupcakes!
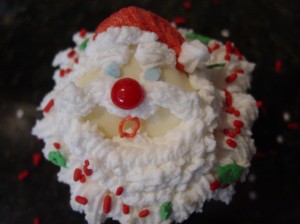
Alright gang, this Santa cupcake is a 4 step process. It does take some time to do them but the cupcakes are flipping delicious.
The process used here to decorate these Santa cupcakes are pretty much the same process used in the mini butterfly cupcakes dipped in chocolate.
These are a bit more time consuming since you have to create the cake decorators icing mold first. This is a technique I learned from an incredible cake decorator about 25 years ago.
There is nothing better than biting into a crisp thin layer of chocolate that is filled with icing. I really wanted to eat this Santa cupcake badly right after I finished him but the photo shoot would have never happened. So, I waited and then ate the Santa cupcake covered in that yummy white chocolate. Mmmm Mmmm Yummy!
What you will need to create the Santa Cupcake dipped in white chocolate:
- Pre Baked Cupcakes
- Pre Made Cake Decorators Icing
- Parchment Paper
- Cupcake Liners
- Cake Decorator Tip # 18
- Mini Cookie Cutter: Heart Shaped
- White Chocolate Melted
- Red food coloring for the Santa hat
- Christmas sprinkles
- Lots of Love
How To Make The Santa Cupcakes Dipped In White Chocolate:
Step 1: “Creating the Santa Face Mold”
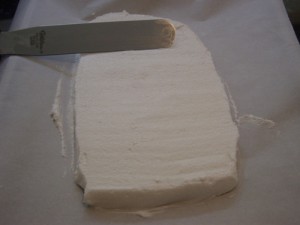
Start by taking your cake decorators icing and smooth it out on a parchment lined baking sheet. A small sheet that can fit in your freezer will work best.
Place sheet of icing in freezer for about ten minutes.
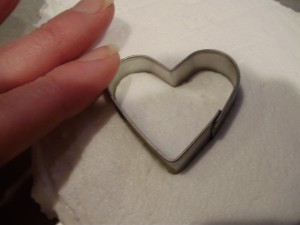
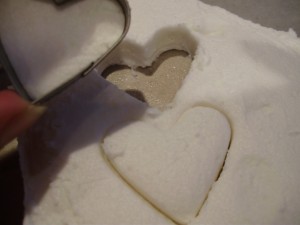
Remove from freezer and use your heart shaped mini cookie cutter to create the Santa Face mold.
Continue to press as many molds as you can.
Put back in freezer for another ten to fifteen minutes until the icing is frozen.
Start removing the heart shape icing cutouts one at a time. This can get a bit tricky. The best way to do this is to remove them from the icing sheet and place on another pan and put back in the freezer until ready to use.
Next, Get your Santa cupcakes ready to dip in white chocolate.
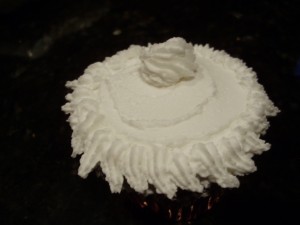
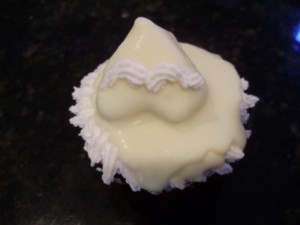
Start by pre icing your cupcakes and give them a frilly edge and a center dollop using your # 18 cake decorators tip.
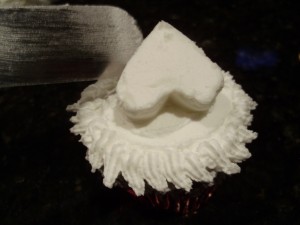
Next, place your heart shaped icing cut out on top of the dollop to secure. The heart shape will be upside down.
Hint: Do these one at a time and then put back in the freezer until ready to dip. This will keep them secure for fast dipping and no mess ups:)
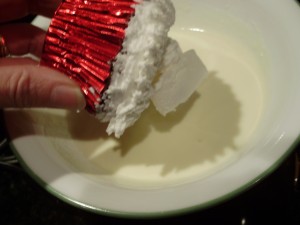
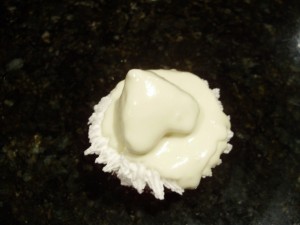
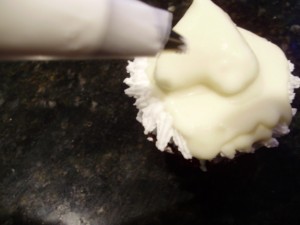
Next, start dipping your Santa cupcakes in melted white chocolate.
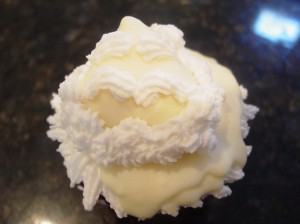
Next, create the Santa face by first giving him a mustache using your # 18 tip and your cake decorators icing.
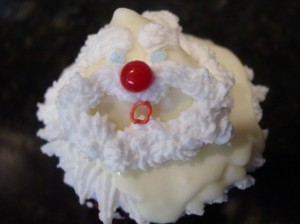
Next, create Santas’ beard, hair and eyebrows. Fill in any white chocolate that has run over with more icing to look like Santa’s beard.
Next, place a cinnamon imperial just above the center of Santas mustache for his big red nose. Add a mouth by using red colored icing and give him his blue eyes by using blue dot sprinkles.
Next, give ol’ Saint Nick his Santa hat by using more red colored icing. Put a fluffy ball on the end using your # 18 tip. Keep filling in the beard and hair as you see fit.
Finish off by adding colorful Christmas sprinkles to the edges of the cupcake!
Want More Great Ideas?



I couldn’t thank you enough as I was seriously thinking of something to bake for my dad’s birthday next week..we call him santa in the family because he looks a lot like santa..so for his birthday, we all get to eat santa cupcakes!! Thanks to this post!! And oh by the way, could I add some cheese topping perhaps? he loves cheese too..